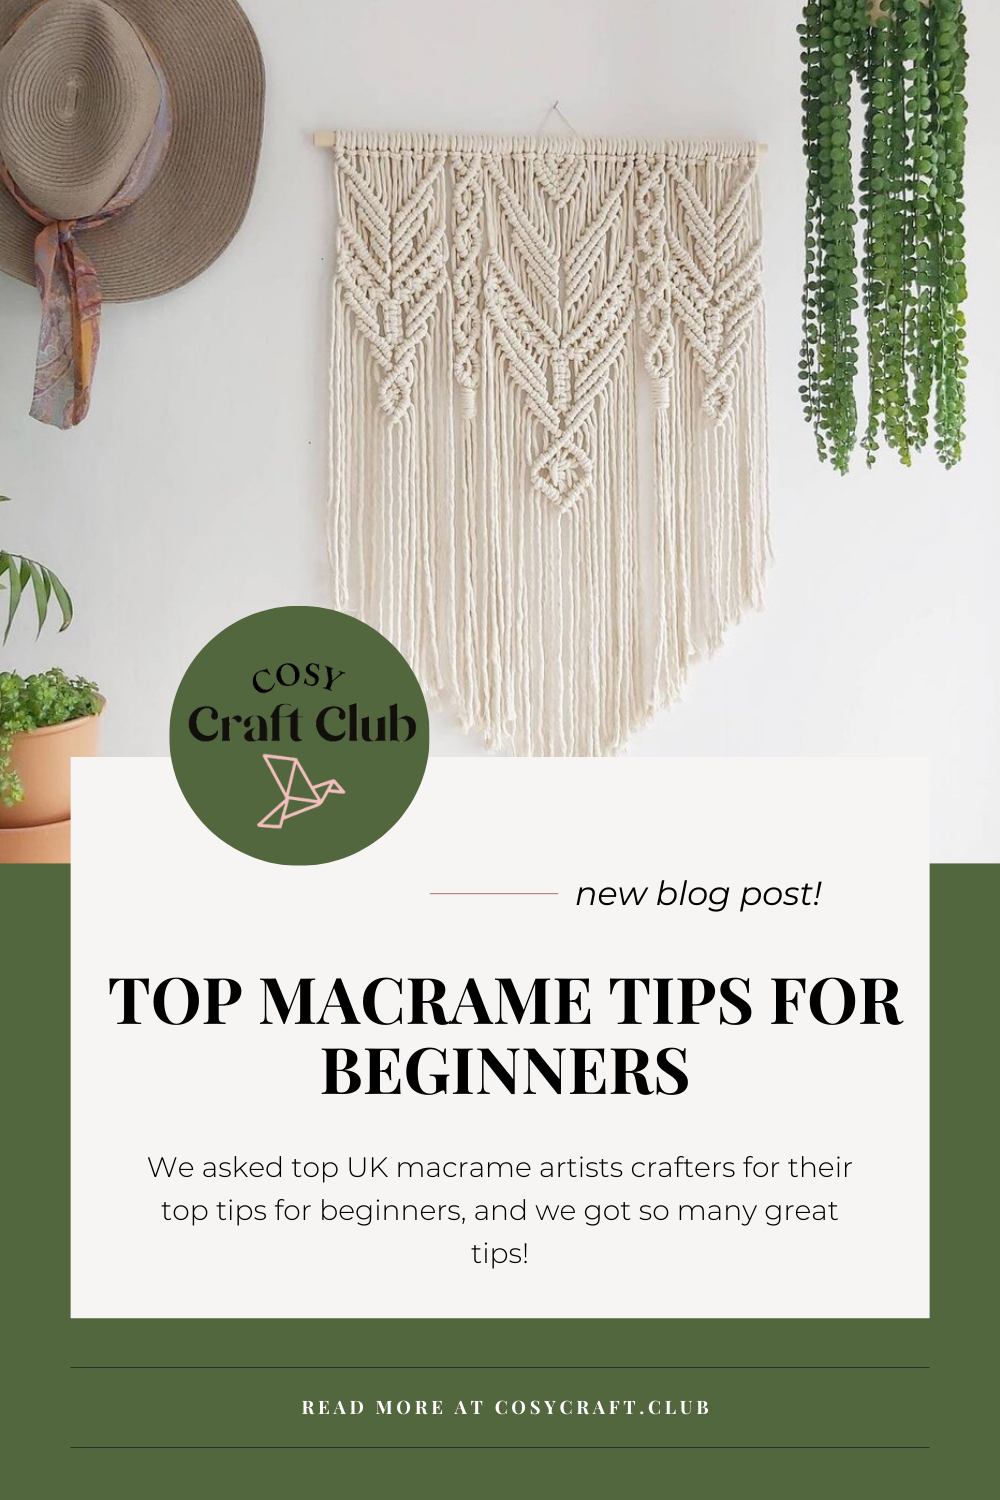
We really want to encourage you to have a go at macrame, and we'll be sharing the key things you need to know to get started.
Macrame is a 70s craft that has come back in such a big way! You can make so many things with it - from plant hangers to coasters. We asked top UK macrame artists crafters for their top tips for beginners, and we got so many great tips! Keep reading to get loads of great insights to help you with your macrame.
You should watch your position while knotting, your back might hurt especially after a big project. Invest in an adjustable clothes rail, it is easier on your back. Also, cotton fibres go everywhere so I would recommend working in a well ventilated area.
I would say the main things would be to give yourself the time to learn, experimenting is so important and it's a much more fun way to learn, be creative and unique. Patience, allowing time to undo (a lot of) knots and correct mistakes :-) Initially I spent most of my time undoing knots rather than finishing pieces off!
Rebecca - Fluffy Peaks@fluffypeaksdesigns
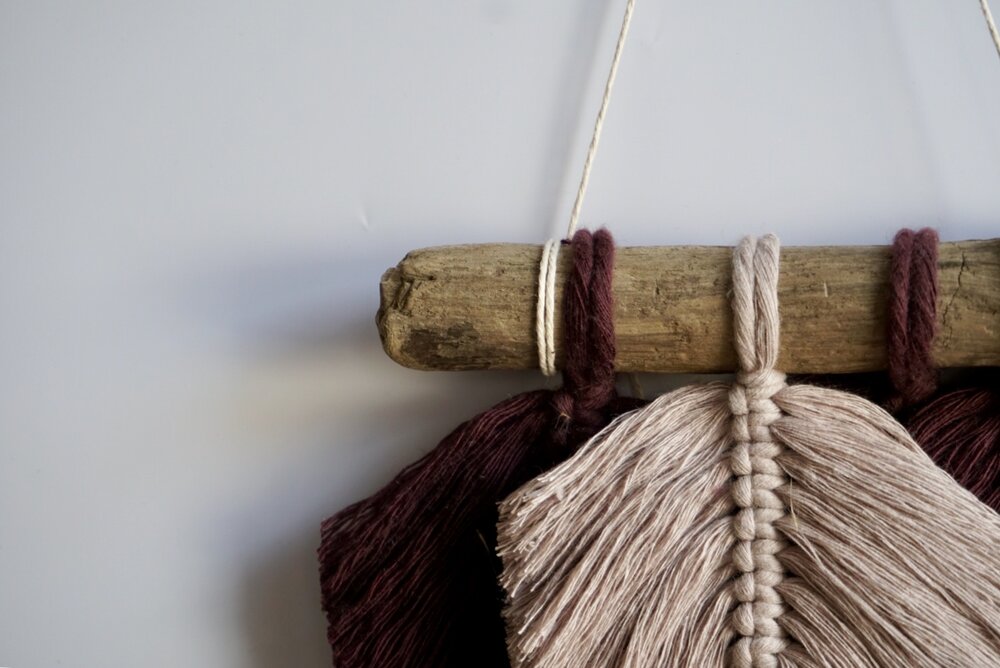
Photo: Fluffy Peaks
It's best to learn basic knots first. Even learning just one knot - the square knot, you are able to create a variety of different things. Other good knots to learn as a beginner are the larks head knot and the clove hitch knot. I always get people to learn these knots on a clipboard, practising them first before going onto an actual project which can seem quite daunting.
Always make sure you have a good pair of quality fabric scissors to hand, a lot of rope can sometimes be hard to cut all at once when you get round to trimming. Also a sturdy comb is useful for brushing fringing out.
I have handy hooks that I add on doors and have even added nails to tops of door frames to be able to hang projects from, such as plant hangers... it's easier to work with the rope suspended.
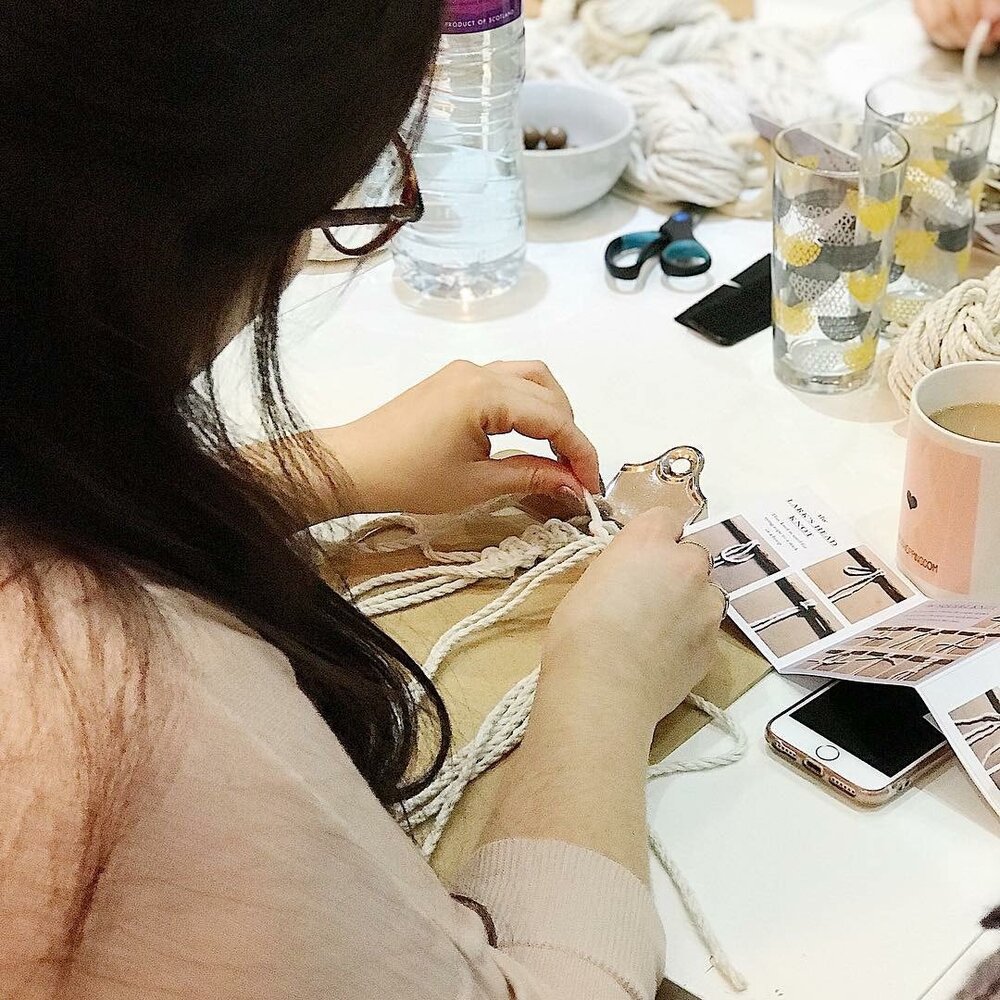
Photo: Knot Sew Simple Design
The biggest thing that helped me learn to knot when I was just starting out is definitely binder clips! Most knots use 4 lengths of cord, but not all of those lengths are your working cord. For example, while learning to square knot or spiral square knot, I would clip the middle lengths of cord to my board (a cutting board, clipboard or even a chopping board from your kitchen work well) so that I didn’t have to worry about tension and could just focus on the two lengths I was working to create the knots. After time, you get used to it and manage without the clips!
My biggest tip is one I have to tell myself every time I start a project - always cut more cord than you think you’ll need! I’ve been caught short so many times and had to unpick whole pieces and start again, plus any excess yarn can be trimmed and used for tassels or fringing so it won’t be going to waste.
Melissa
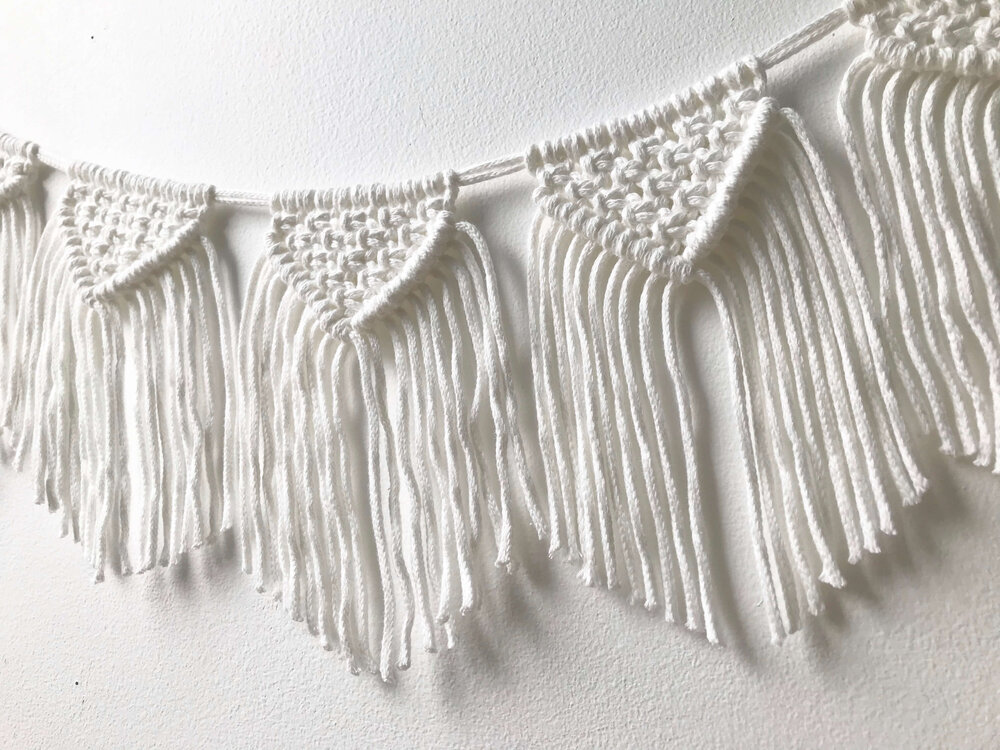
Photo: Knots of Wool
Sometimes the biggest struggle is figuring out the length of rope you need for your project. The best advice I can give is measure the desired length of your project then multiply it by 4 now you can cut your cord. I learned this the hard way as was always running out of cord but it led me to learn how to attach a new cord when it was needed.
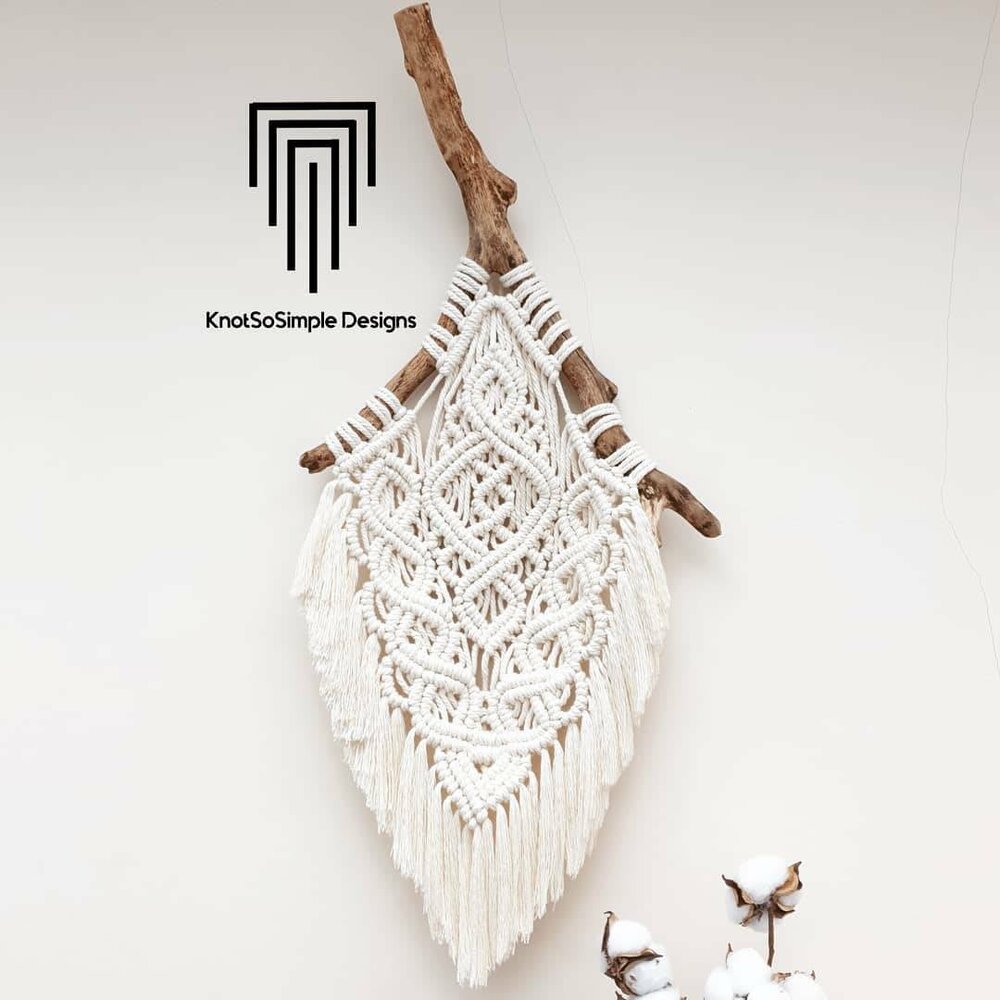
Photo: Knot So Simple Designs
I would start by using a thicker rope/yarn, 6mm plus, it’s less fiddly when you’re first learning the different knots.
With wall hangings, I like to start in the middle and work outwards, adding more and more depending on which shape I’d like it to take. Don’t worry if something doesn’t look quite right, you can just undo it and start again!
Kate
There are loads of resources available online, both free and available to buy. Even when you feel like you have mastered macrame, I promise you haven't. There is always another new knot, or another technique you haven't tried.
And always remember to stop and stretch. It can be tough on your muscles and if you don't care for your body you can be left with long term strains.
Charlotte - Mad about Macrame
Find a macramé workstation that works for you! You can sit on the floor, cozy up on the sofa, or stand, but your tools will help you to make macramé and still be comfortable! I mostly use a foam macramé lap board. I also hang S hooks on a clothes rail to make plant hangers and bigger pieces, don’t worry if you don’t have these though you can get creative! Make a plant hanger from a door handle! Sellotape your dowel to the edge of a table! There are so many random ways.
Cotton is my favourite macramé cord; it’s soft and easy to work with, it comes in different colours, and the material lends itself to a more homely, bohemian vibe than paracord or nylon. I started out with chunky wool too though and find that’s another good option. When choosing the size of your cord, 3mm is just ideal! Small enough for keyrings but versatile enough for plant hangers and small to medium wall hangings.
Hollie Rose -@northrosedesigns
Don't be afraid to unknot and start again if you are unhappy with something. It will give you more practice and you will be happier with your finished piece.
Take a workshop if you can. Books and online tutorials are great to learn from but they don't often teach you how to correct your mistakes, this is something a real teacher can.
Samantha - @prettylittleknotsco
Macrame is a wonderfully forgiving art. The only thing that cannot be undone and re-tried is cutting. That being said don't be afraid to cut, I save scraps as short as 10cm and always find a way to re-use them (anything shorter than that gets used as cushion filling).
Joanne - Rocket and Pearl@rocket.and.pearl
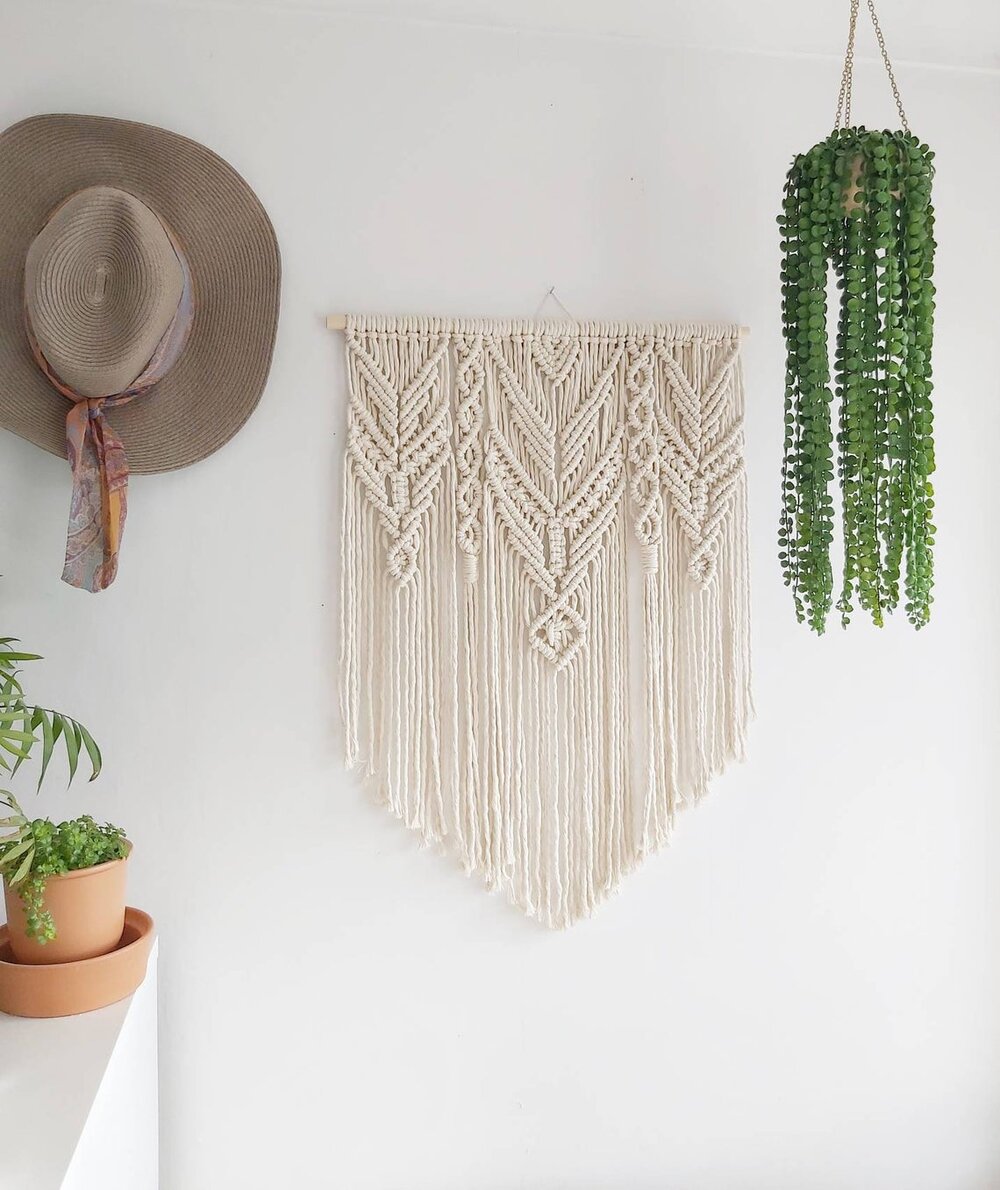
Photo: Rocket and Pearl
A gentle way to learn macrame is to make a key chain or small plant hanger. You can try out lots of knots and feel accomplished pretty quickly at your beautiful creation. When you move on to wall hangings take things row by row. It’s amazing to see how things come together even if it takes a while to see patterns forming.
I love to make macrame feathers and between you and me very little knotting skills are needed for these. You will however discover the need for patience as you brush and trim the feathers into perfection.
Carrie - @the_bristol_loom
When choosing your cord, take note of what kind it is - 3ply (3 strands twisted together) is great for study hangings that hold their shape. Single ply is great for pieces where you want to create fringe as the single twisted strand is easier to brush out. Braided cord is great for projects like chunky jewellery or cushions where you're going to conceal the ends - but beware: brushing this out for fringe is impossible as the strands are woven together!
Laura - @the.scouts.den
My top tip for a macrame beginner is to practice the knots with spare string or yarn before starting a piece. A bit like knitting and crochet, everyone has a different tension when making knots, the most important thing in macrame is consistency.
Don't forget to have fun! If you are not happy with it, undo it and do it again, cotton strings are very resilient and error/mistake friendly.
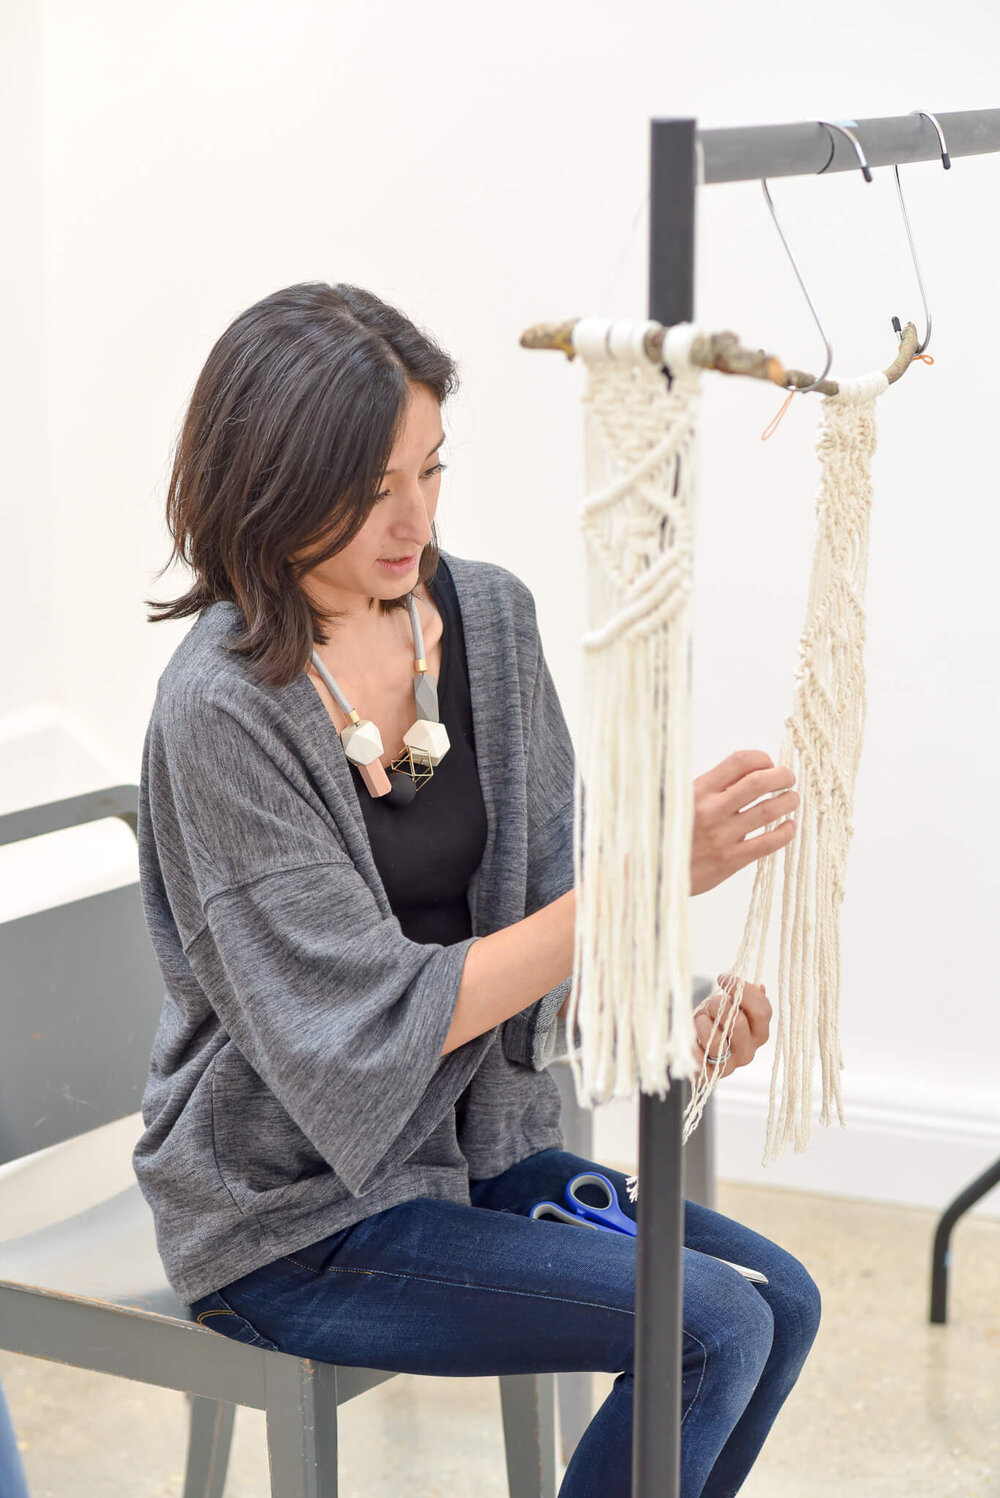
Photo: Two Me
If you're after some driftwood but can't get your hands on any, nip to your local woods/forest and collect any fallen branches that take your fancy (please only take the fallen ones!). Take them home and let them dry out. Once they've dried out strip the bark and give them a sand down. Not quite driftwood but still a fab looking alternative.
Don't beat yourself up if there are a few knots you're struggling with, I've been making macrame for years and the diagonal double half hitch knot is the bane of my life! And also fringe... I can't cut a perfect straight fringe to save my life, I've tried every tip in the book! So instead I leave it a bit shaggy looking and it still looks fab.
Claire
Weren’t they all brilliant?! I hope you’ve learned something useful from all these lovely people. Please click on the links and show them some love!
Rachel x
Cosy Craft Club is a craft box subscription - receive a beautiful kit to try a different craft every month! All our kits are suitable for beginners and contain everything you need to sit down and get crafting. Our kits are also available to purchase individually (subject to availability).

