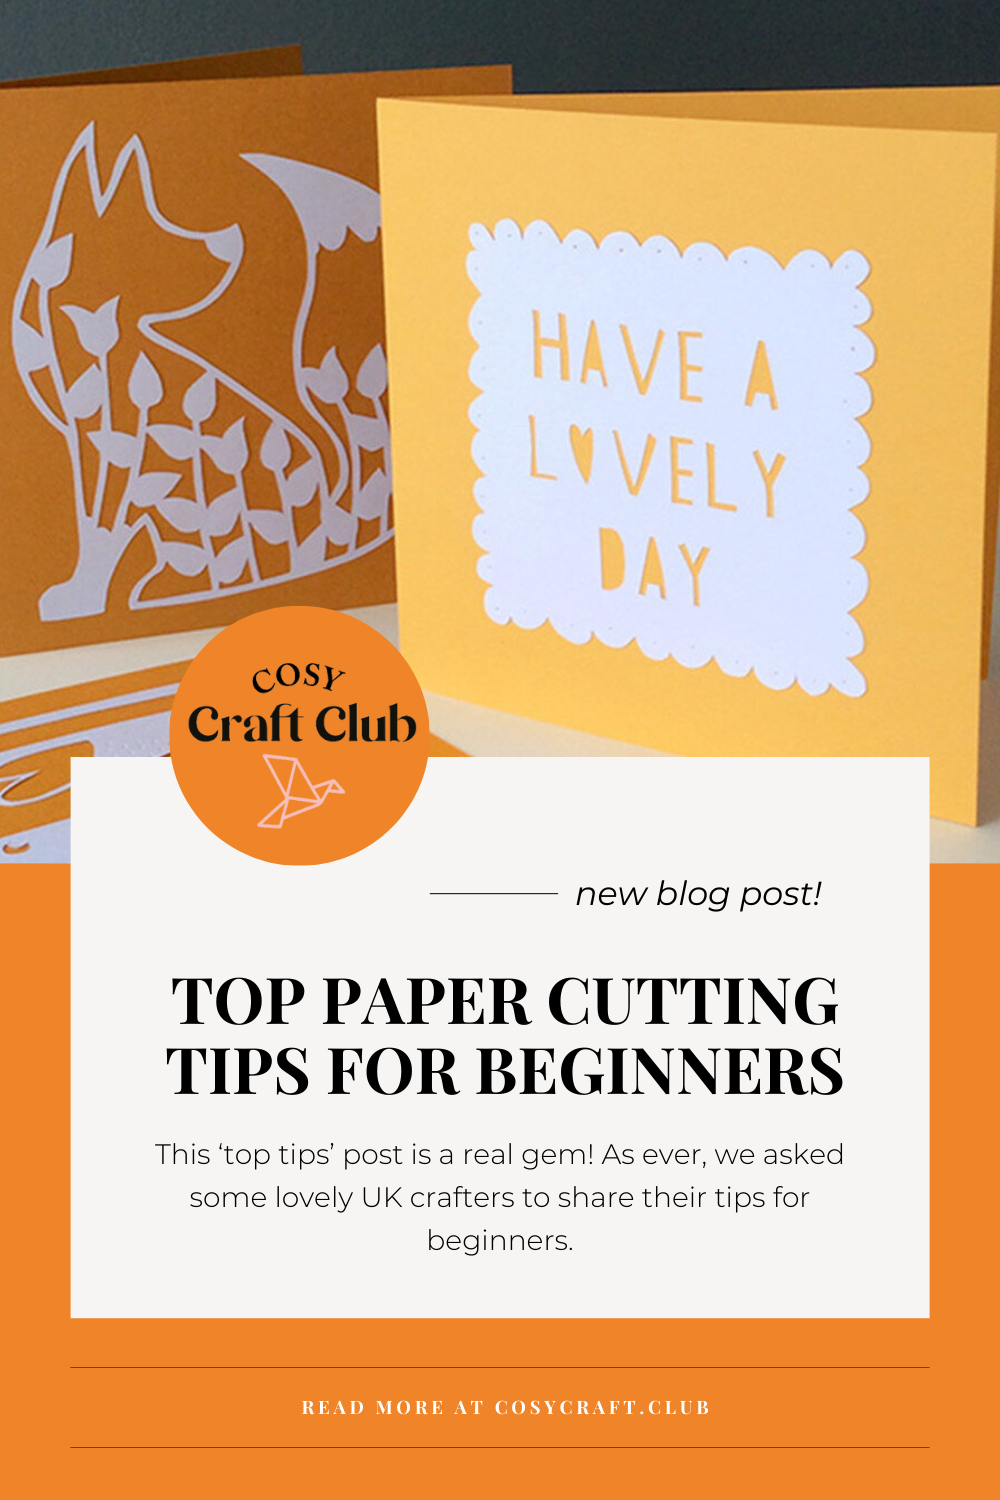
We really want to encourage you to have a go at paper cutting yourself, and we'll be sharing the key things you need to know to get started.
This ‘top tips’ post is a real gem! As ever, we asked some lovely UK crafters to share their tips for beginners - and these amazing papercutters have been so generous in their advice. They have helped to create what I hope is a fantastic resource for anyone wanting to learn paper cutting themselves. Read on and take on board their insights!
Don't blutack papercuts to the wall if you want to get them off in one piece. Also, paper bends easily under the weight of a human, so check chairs for papercuts before sitting down.
It's usually best to draw your design in a mirror before cutting, especially if you have words on it, to make sure everything's the right way round. Also make sure everything's connected in your design, so your piece stays together!
Getting a good mat is so useful. I use the Xcut self-healing mat. It isn't too hard, so you don't break your blade and it doesn't get covered in cutting marks.
Bronwen from Bronwen's Paper (@bronwenspaper)
I’d say my number one piece of advice, is before you begin cutting, consider the piece you’re going to cut as a whole - as in, how every part of the image relates to the other parts structurally, and cut out the smallest/most intricate parts first. The more that is cut out of a piece of paper, the more unstable the remaining paper becomes. So although it’s tempting to dive right in and cut out the largest parts first, this results in being left with trying to cut out the more fiddly parts from paper that is now much more delicate or easily torn.
Secondly, although the vast bulk of cutting is done with a craft knife, needles are great little tools that most people already have at home, and can be used to create great effects, depending on what’s going on in your artwork. I use a little craft hammer flat against a cutting mat to tap the needle through the paper, so as not to bend the paper by holding it up to push the needle through.
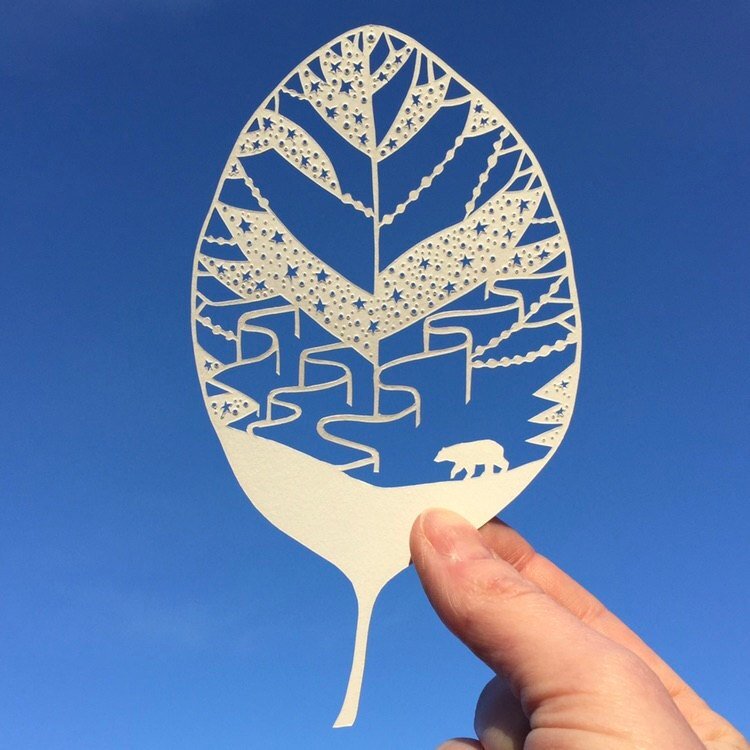
Photo: Caroline Argo
Firstly just be careful, scalpel blade cuts aren’t very pleasant so just be mindful of what you are doing. If you drop your scalpel resist every reflexive urge you have to catch it, that’s a lesson I learnt the hard way! But at the same time don’t be afraid of the blade it’s amazing what you can do and having confidence is really key when handling something that is surgically sharp.
When you first start you might find that your back/shoulders ache too and I take regular breaks and do a little gentle yoga to help stretch out and I also swim 2-3 times a week to give my core some strength as you spend a lot of time hunched over.
Lastly a word of caution! Papercutting is addictive! I started cutting in 2010 and literally haven’t stopped so enjoy your new obsession!
Charlotte Trimm from By Charlie's Hand (@bycharlieshand)
My number one tip of someone starting out is make sure you have a scalpel that has replaceable blades and remember to change your blade often. It is when your blade is blunt that tears or accidents normally happen.
I think one of my top tips for anyone trying paper cutting for the first time would be to wrap a plaster around the blade handle for an instant mini cushion. It will help stop your fingers from aching, as it’s natural to grip quite hard when starting out, until you get the feel of cutting.
Also, use a cork on the end of the blade for instant safe storing. (Best excuse ever to pop open the vino!)
Lisa Jay
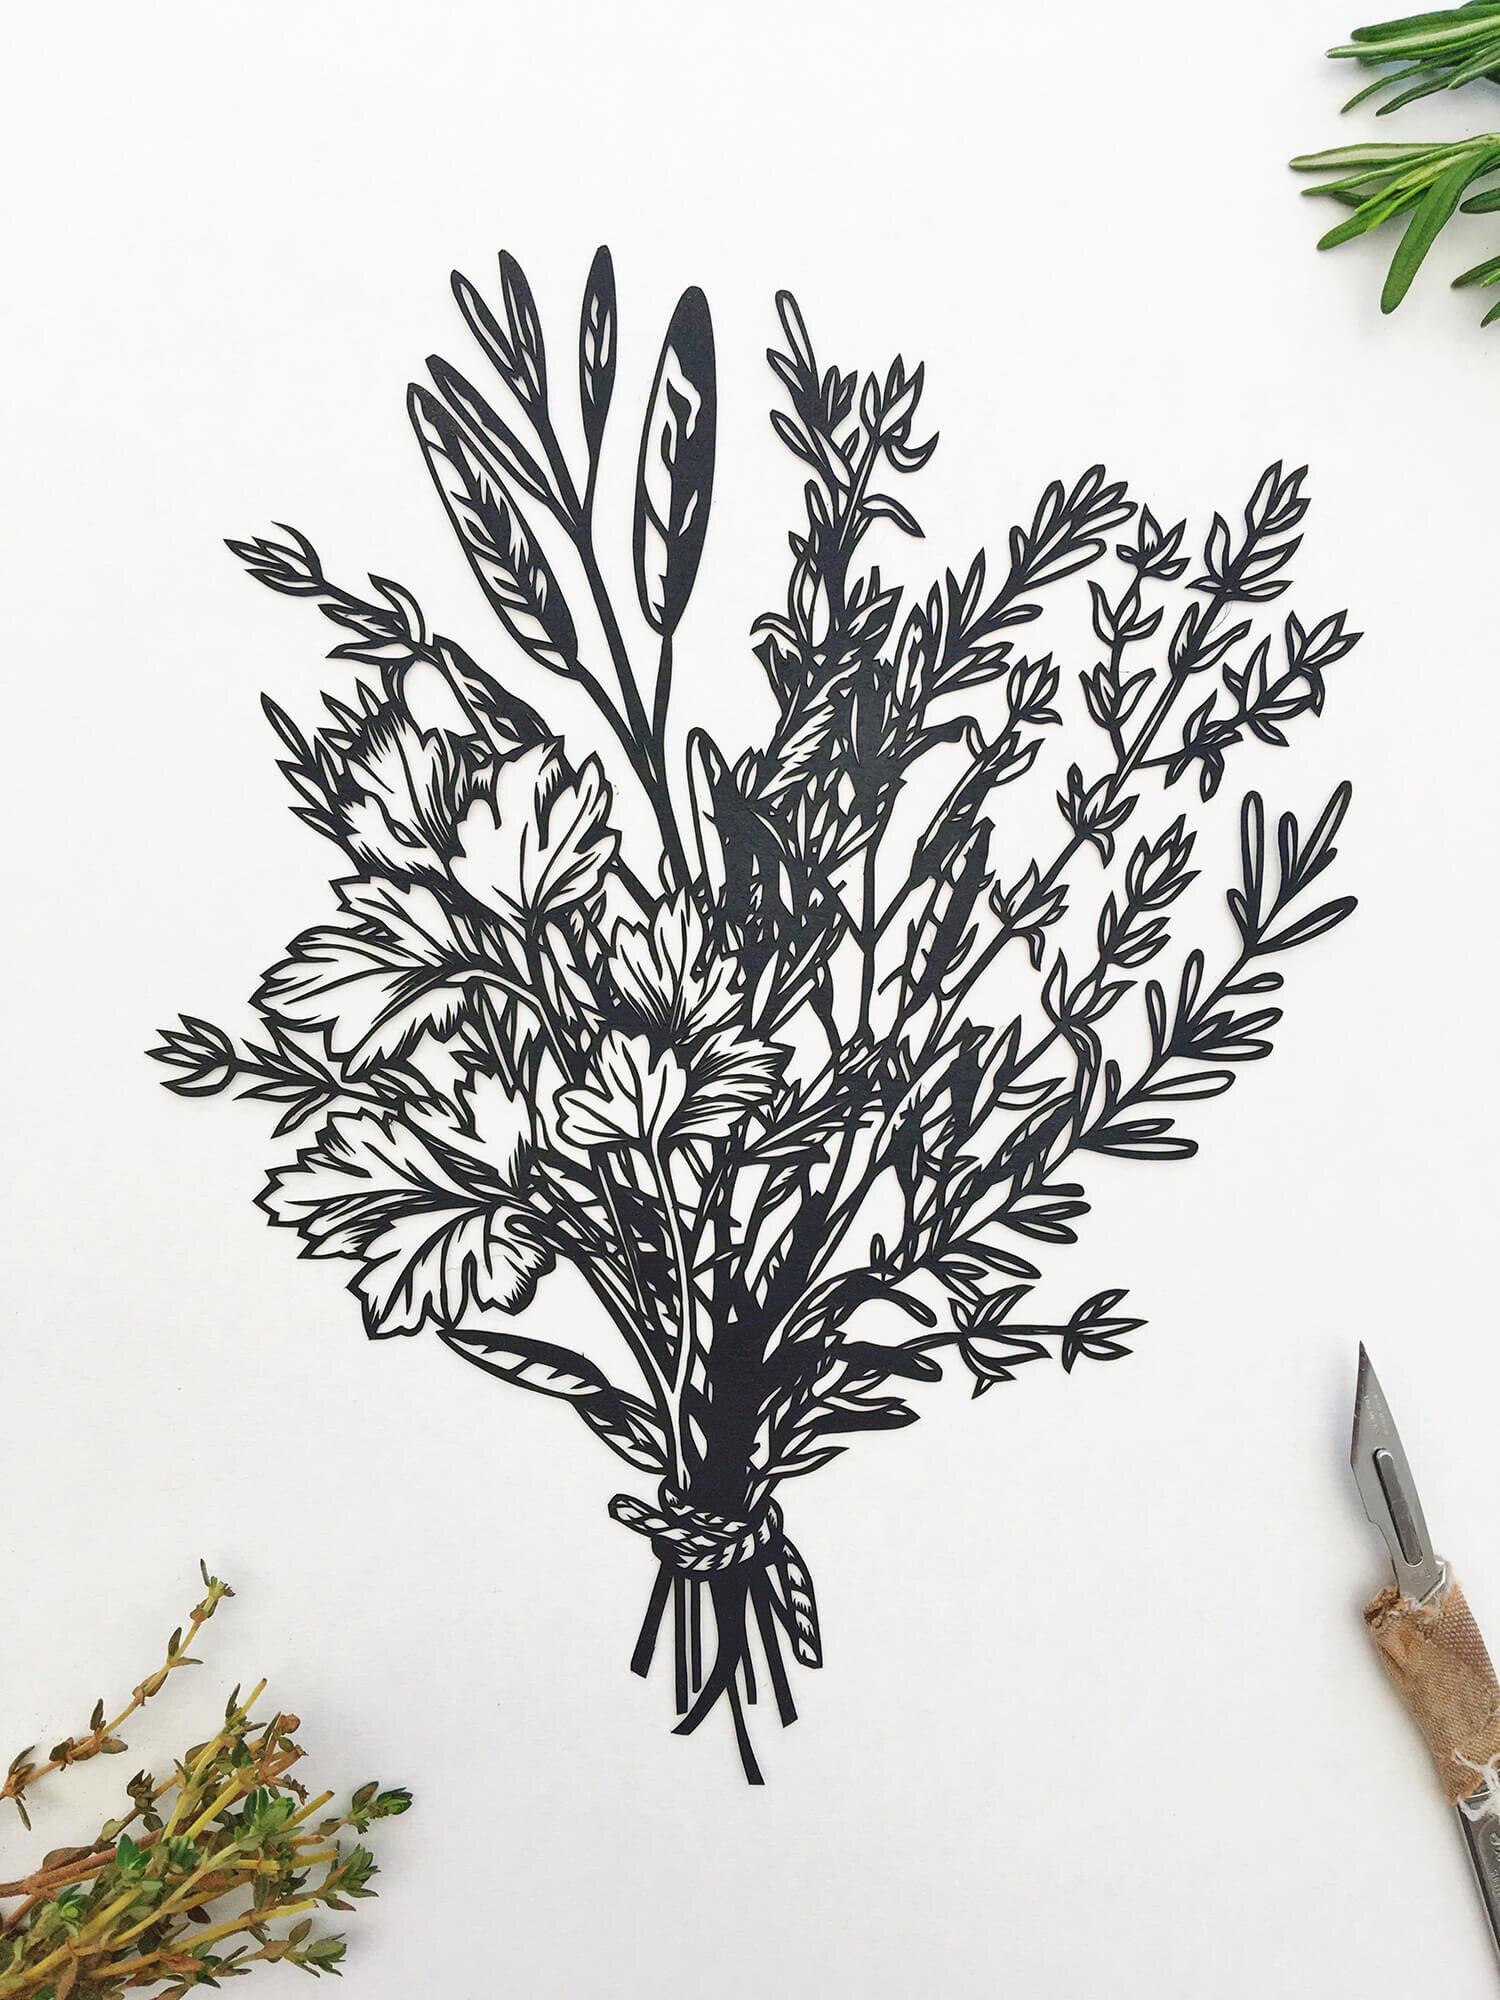
Photo: Lisa Jay
If you’re cutting out a preprinted template and you start veering away from the line, don’t panic, just go with it and gradually bring the blade back to the intended line. Embrace those little wobbles, as they’ll give the finished piece character and stop it looking like something that was cut by a machine!
Lucy Nichols from Lucy Dorothy (@lucydorothyart)
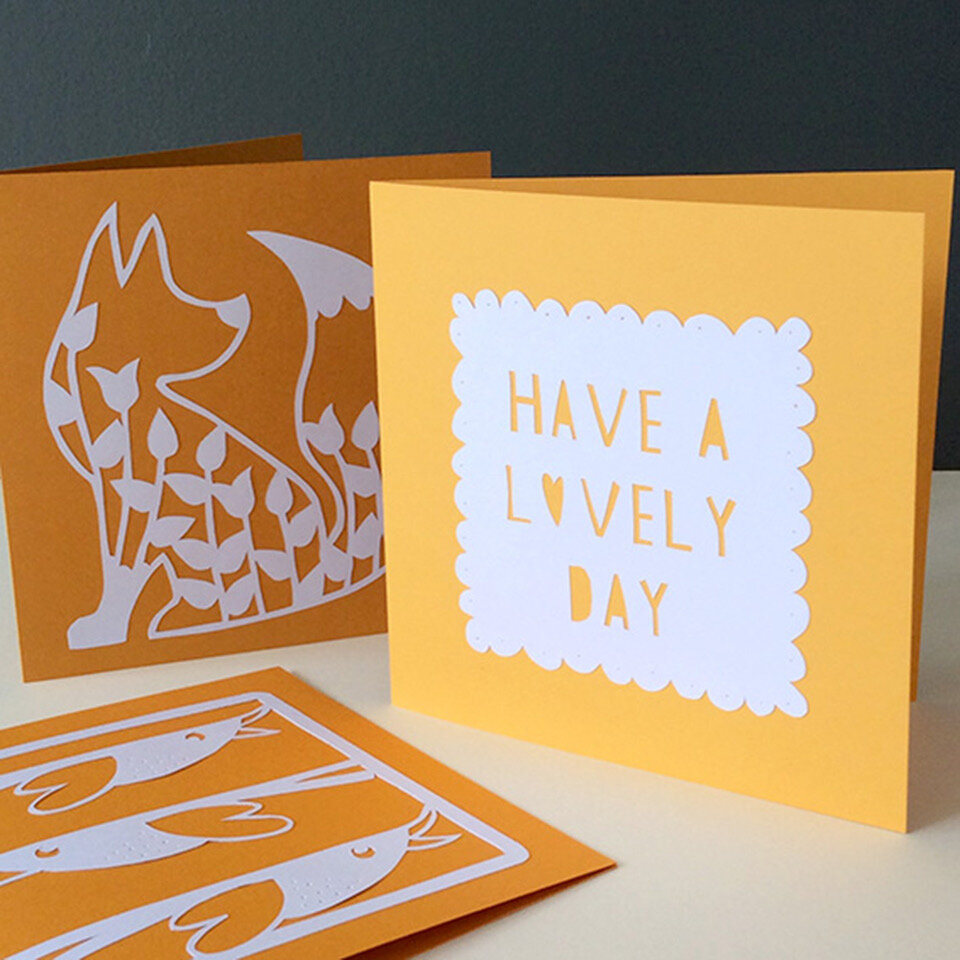
Photo: Lucy Dorothy
My top tip would be to cut the details and inner most parts of your design first, and work outwards. That way there’s less chance of your design tearing and it stays more stable whilst cutting.
Rebekah Marsh from GlimpsingLight (@glimpsinglight)
So my top tips for beginners would be to find the right knife that feels comfortable in your hand, and one that has replaceable blades, this might mean trying out a few brands but its worth giving them ago. Some recommendations from me would be the Swann Morton No.3 handle and 10a blades or the Excel knife.
Next tip would be to cut from paper that's between 120 - 160gsm thickness anything thicker than you will find it very hard work on your hands, anything thinner and the paper could rip easily.
Samantha A Sherring from SAS Creative (@sas_creative)
Add colour to the reverse of your papercuts to make them stand out. Simply photocopy the back of your finished cut onto everyday paper and use this copy as a template. Place it on top of coloured paper and cut through both pieces, then glue the coloured shape to the reverse of your papercut.
Place a desk lamp (ideally with a daylight bulb) in front of your cutting hand so the shadows fall behind your hand and don’t mask your view of the template.
Sarah King (@appleseedpapercuts)
You don't have to be good at drawing to papercut. There's lots of papercutting templates available, if you don't like drawing your own. Most you can download instantly, and can use unlimited times to practice! There's plenty to choose from on Etsy!
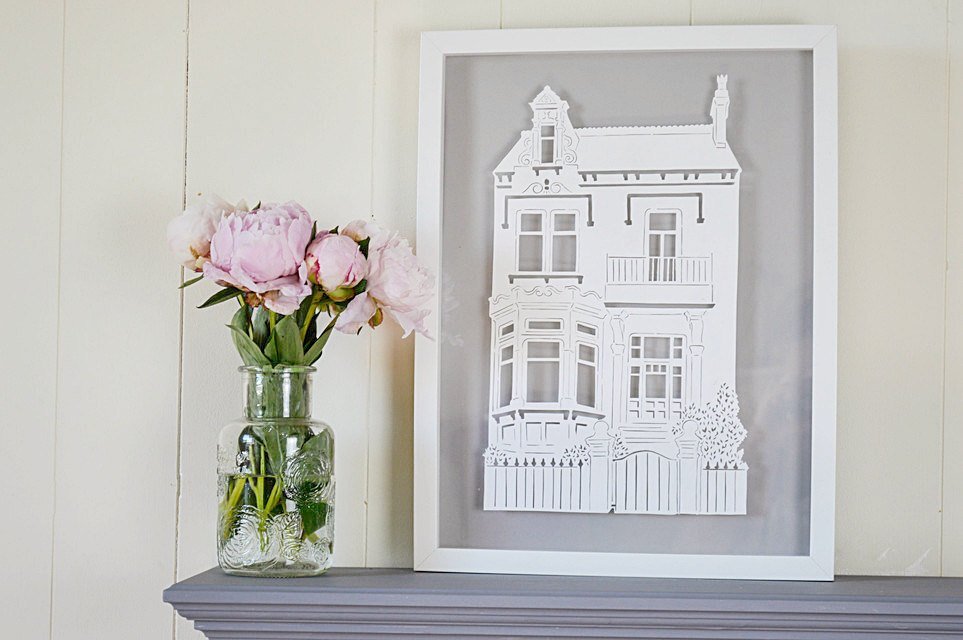
Photo: The Paper Roses
What a wealth of information that was! Thank you so much to our lovely paper cutters, and please do go and click on the links and check out more of their work.
Rachel x
Cosy Craft Club is a craft box subscription - receive a beautiful kit to try a different craft every month! All our kits are suitable for beginners and contain everything you need to sit down and get crafting. Our kits are also available to purchase individually (subject to availability).

