Our jewellery making kit
Welcome to the Cosy Craft Club's lino printing month! We really want to encourage you to have a go at jewellery making yourself, and we'll be sharing the key things you need to know to get started. You can find all our jewellery making posts in one place here.
Here at Cosy Craft Club we send our subscribers a kit with everything they need to try a different craft each month. This month, it's a jewellery making kit!
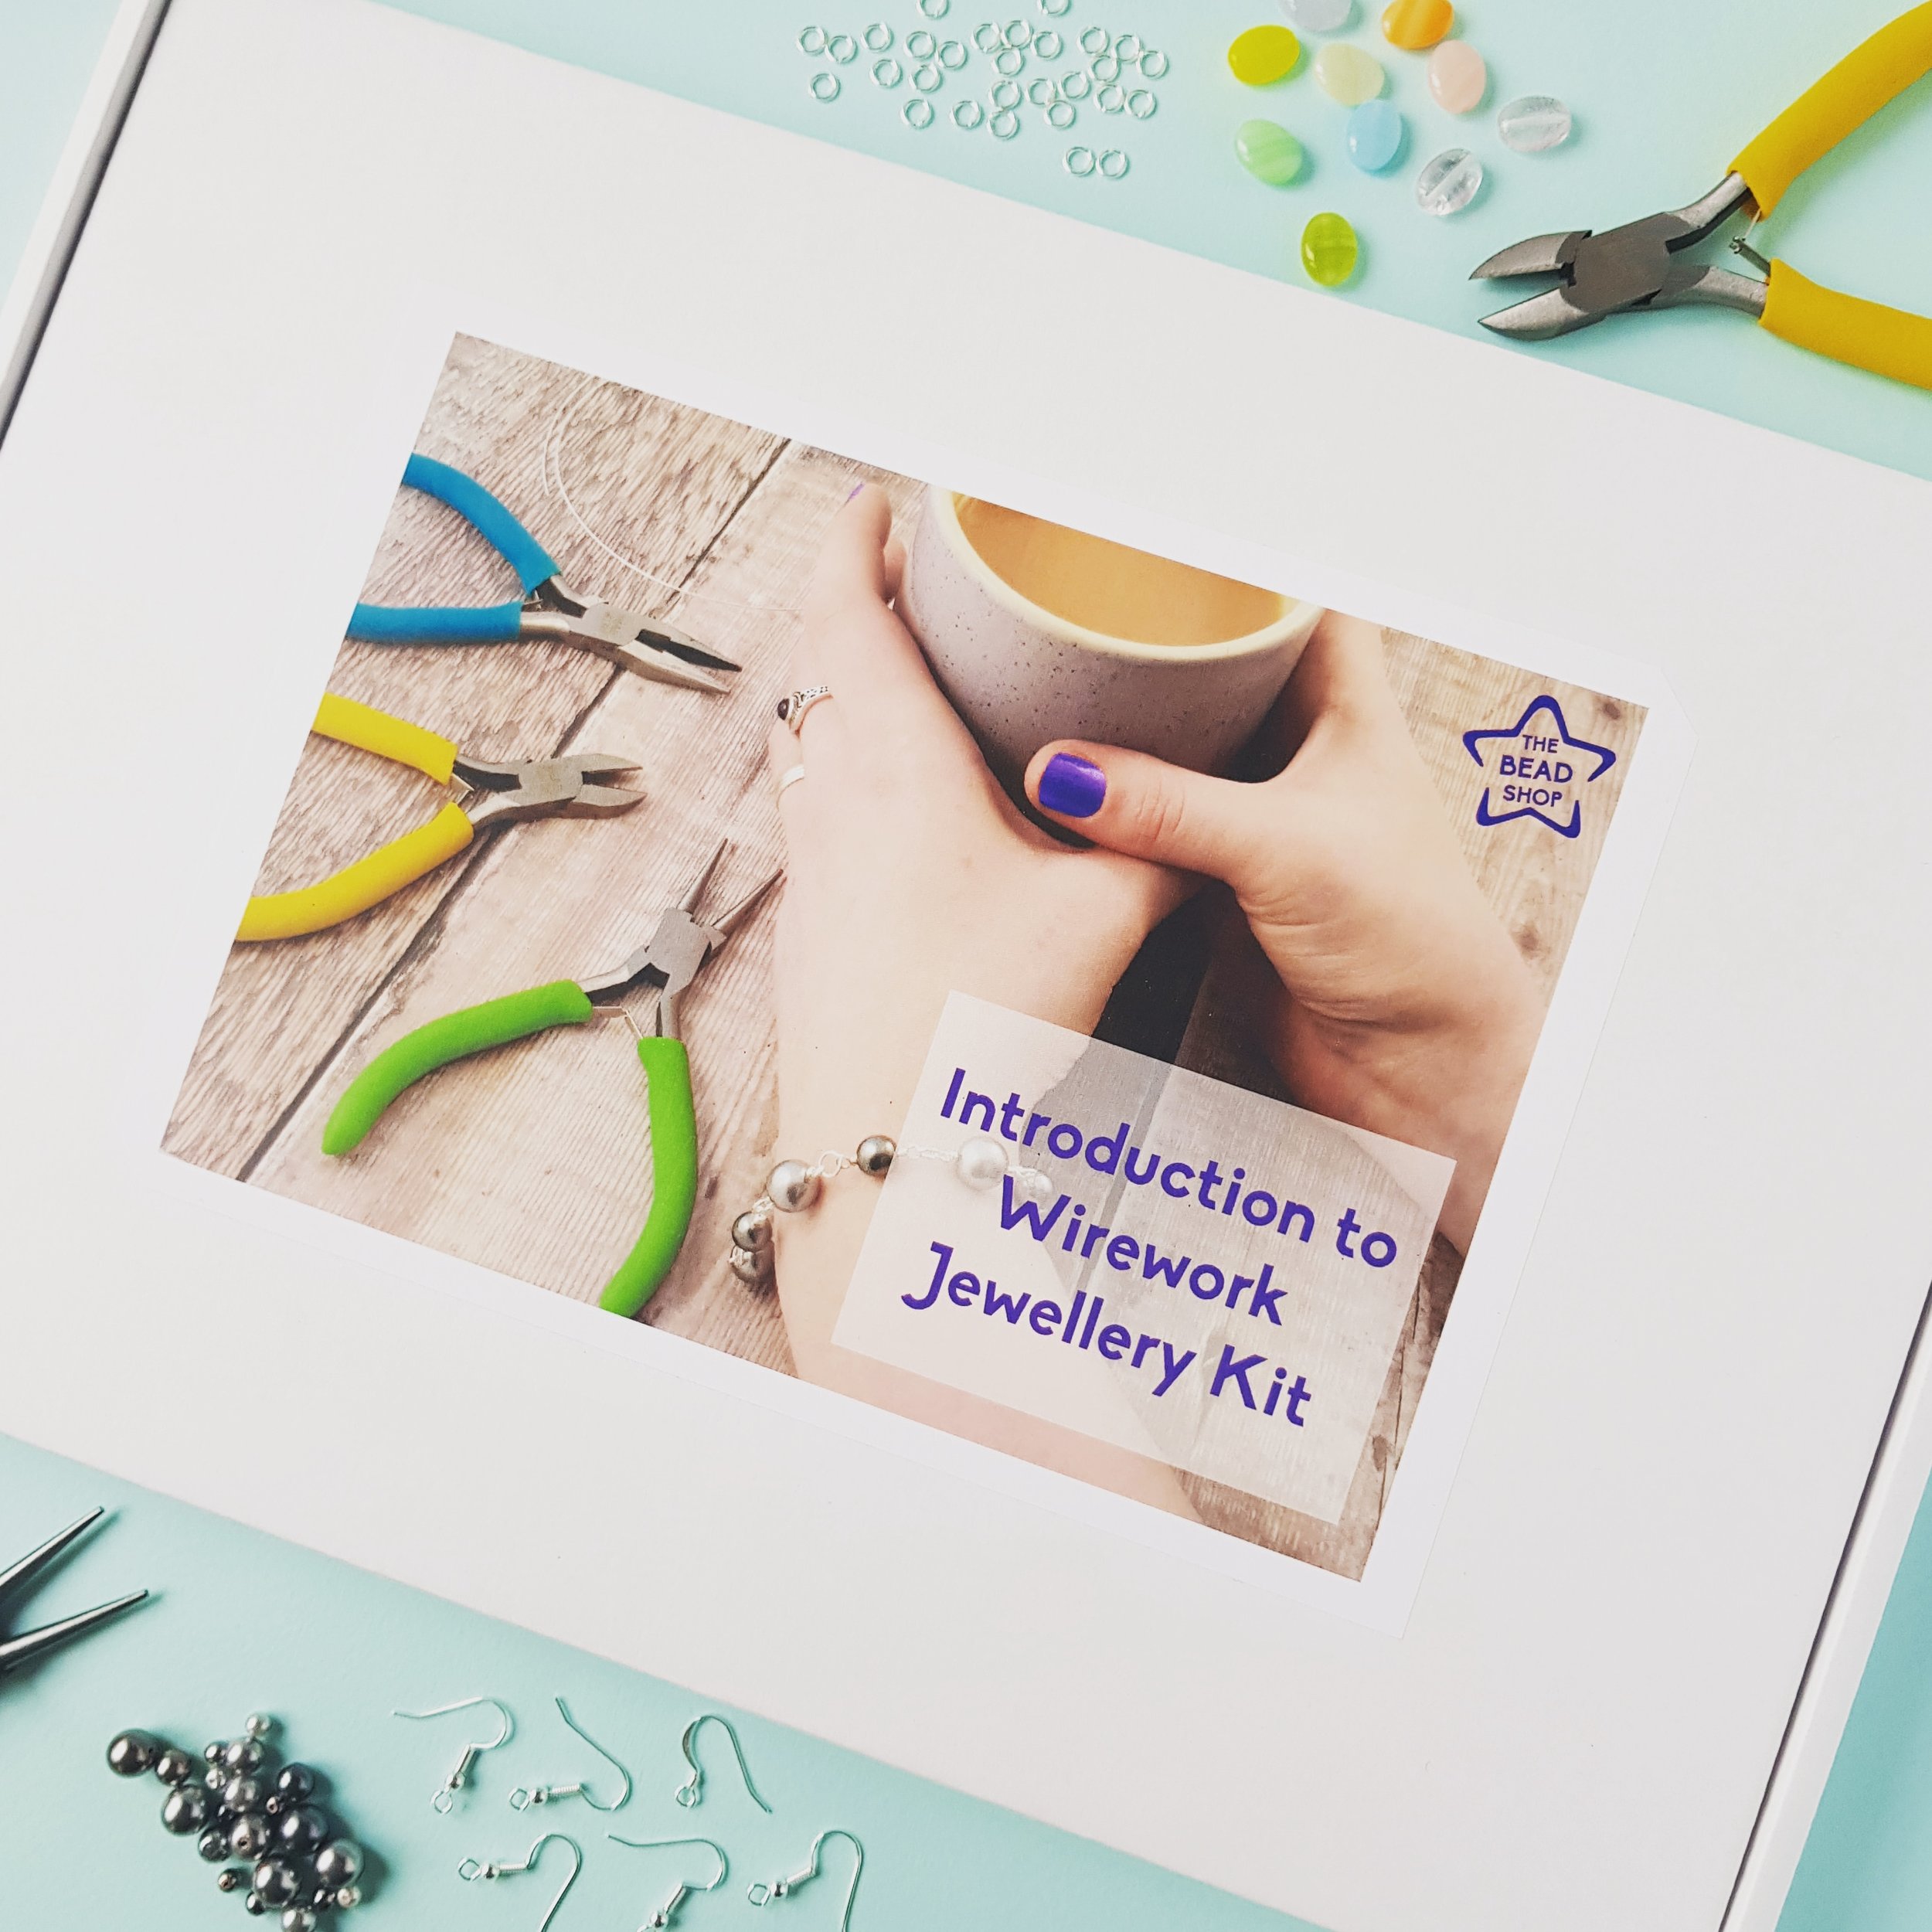
Our jewellery making kits were created by The Bead Shop Nottingham, and they come neatly packaged in this enticing box:
Open up the box and you’ll find a fantastic range of jewellery making supplies inside - in fact, everything you’ll need to get started in wire jewellery making! You can see everything being unpacked in our unboxing video.
As you can see from the picture, the kit includes 3 tools: round nose pliers, chain nose pliers and wire cutters. Plus there’s a bead mat to work on and stop your beads from rolling away (always useful!).
The kit also includes
silver plated craft wire
ear wires (3 types)
head pins and ball pins
clasps and toggles
jump rings
pastel coloured flat glass beads
mixed grey glass pearls in a range of sizes
mixed colour seed beads
(Please note: the photo below doesn’t show every individual bead and finding in the kit)
A great way to get started with the kit is to practice making wire loops and wire wrapped loops using the steps in the instructions. They really are the basis of a lot of jewellery making styles and will come in useful when it comes to making the jewellery itself!
Once you are happy you know how to make loops, why not try to make one of the designs shown in the instructions? Or look at the beads in front of you and see which work well together, or stand out to you. I have often found that designs seem to leap out at me when I put different beads together.
If you’re really stuck for ideas, you could also look at our simple wire jewellery Pinterest board. I’ve compiled designs on here that may not use the same beads as in the kit, but all use simple techniques that you can adapt for the beads that you would like to use.
Another great place to look for inspiration is the high street. Costume jewellery that you can find in clothing stores is mostly made using these same techniques, so if you see something you like think about how you can adapt it and make it yourself!
I challenged myself to make as many different designs as I could using the supplies in the kit, and this is what I came up with:
Disclosure: I did have to add a few extra head pins and pearl beads to finish all these designs - but they are all made from supplies that you can find in the kit.
I hope that it is obvious how most of them were made, but here are a couple of less obvious designs:
This pair of dangle earrings is made from beads which have each been threaded into a head pin and a wire loop made. Then you open up some jump rings (the wire circles) and thread one of the wire looped beads onto each one as well as the adjacent jump rings. Add an ear wire at the top, and you're done!
To make these jump ring and seed bead earrings open each jump ring and thread on one or two seed beads (I used two). Linked a row of plain jump rings to go down the middle of the earring, and link each of the jump rings with seed beads onto the plain jump rings. I got the idea for these earrings from this tutorial on Make and Fable.
I hope I have inspired you to have a go at jewellery making! If you like the look of this jewellery making kit and would like to have a go for yourself (or you know someone who would love to), these kits can be purchased from our Shop.
Rachel x


